Installation and Setup
This section shows you how to run the service from the command line, which is useful for testing. It also shows you how to run it as a service, which is best suited to a production environment.
The AI Services should be found in the InsightMaker.Python folder that you created in the prerequisites step.

From The Command Line
Activate Python Virtual Environment
For AIEnrichmentService - Activate your virtual environment by navigating to the AIEnrichmentService/venv/Scripts folder and running: activate.bat
You should now see (venv) at the start of your command line.
On the command line navigate back to InsightMaker.Python\AIEnrichmentService
For AIModelService - Activate your virtual environment by navigating to the AIModelService/venv/Scripts folder and running: activate.bat
You should now see (venv) at the start of your command line.
On the command line navigate back to InsightMaker.Python\AIModelService
Python Torch run-time prerequisites.
For Windows - Visual Studio runtime must be installed. https://visualstudio.microsoft.com/visual-cpp-build-tools/
Other Operating Systems - Check requirements https://pypi.org/project/torch/
Install Requirements
Use ‘pip’ to install all the requirements in the latest requirements file:
Online:
pip install -r requirements_3.12.8.txtOffline: From an internet connected machine:
Create a temporary folder.
Navigate to the temporary folder.
Run
pip download -r requirements_3.12.8.txtCopy the resulting contents of the temporary folder to the target server.
Run the following on the target server, replacing the path to the temporary folder as appropriate.
pip install --no-index --find-links C:/tmp/libs -r requirements_3.12.8.txt
Run
cd ..Run
pip install AiimiInsightEngine-0.4.2-py3-none-any.whlThis will install the Workplace AI library.
If you have a GPU ad you plan to use that to accelerate steps such as vectorisation:
Uninstall torch with
pip uninstall torch
Reinstall torch using the pip command generated by this link: https://pytorch.org/get-started/locally/
For example:
pip install torch --index-url https://download.pytorch.org/whl/cu118
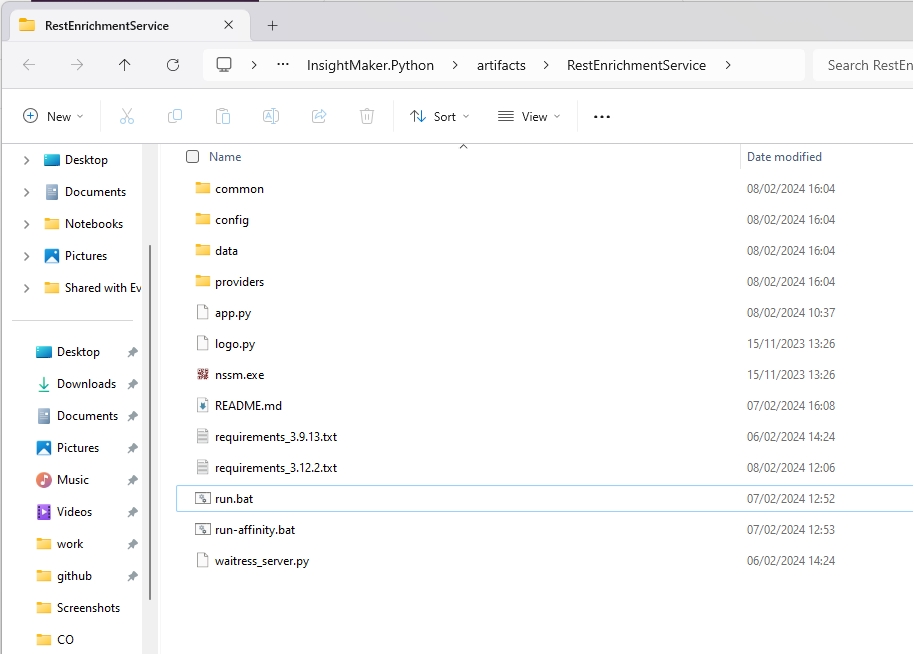
Edit run.bat in the root of ‘InsightMaker.Python\AIEnrichmentService’ to point at the correct location for your virtual environment.
Register the AI Service Configuration
Edit the main configuration to the service can register itself:
Open the following in an editor
config/config.jsonEdit the following fields:
Scheme should remain http, unless you plan to proxy requests through a HTTPS reverse proxy (IIS ARR for example) - in this case see the using SSL section.
The address should be the IP address or host name of the server (do not use localhost).
Port should not need changing.
Threads, maxRequestHeaderSize, and maxRequestBodySize should not need changing at this stage.
System secret should contain the AIE system secret. The trusted Certificate Authority (CA) certificates can be pulled from keyvault too, in a similar manner to secrets.
If your secrets are encrypted, set skipSecretDecrypt to false.
Skip System Decrypt: If skipSecretDecrypt is
falsethe systemSecret parameter will be treated as encrypted.Key Vault: If an Azure KeyVault URL is added system secret and certificate configurations will be treated as Keyvault secret/certificate names. Python will attempt to read them using Azure Default Authentication.
Admin API should point at the Admin API URL.
caCerts & caPassword: These are the parameters for a certificate authority.
These are optionally required by the AI Services for various connectivity to other elements of AIE, most notably they are used by the AI Classification Service to authenticate communications with Elastic
If a key vault is specified, caCerts will be treated as the certificate name in key vault, no password is required in this case
serverCerts, serverCertsPassword and serverPrivateKey: These are parameters for certificates when hosting as HTTPS
These are optional, and only required if using the cherrypy_server (for HTTPS), waitress_server hosts on HTTP.
Similar to caCerts, if a key vault is configured then these will be treated as names and pulled from the vault
Trusted IPs should contain the IP Address of all of your enrichment agents.
The config will be slightly different depending on the configuration you're installing. View the config for each service below...
AI Enrichment Service


AI Model Service


Now you can start the service by running run.bat.
Note that the first time the service starts no providers will actually load, as they are disabled by default. In the next section we enable the steps that we want to use.
Once verified that its running correctly you should see [Service name] is ready and waiting..." You can safely stop the service and set it to run as a windows service. Continue to the Running as a service (Windows) guide.
Last updated