
Viewer
Set your PDF Tron licence using the Viewer page. Setting this will provide an enhanced preview experience for users in Workplace AI.
This allows users to preview the text content of a document within Workplace AI. Users no longer need to download document or be redirected to open documents in its source location. This means users can review documents for compliance purposes and more gather further insights.
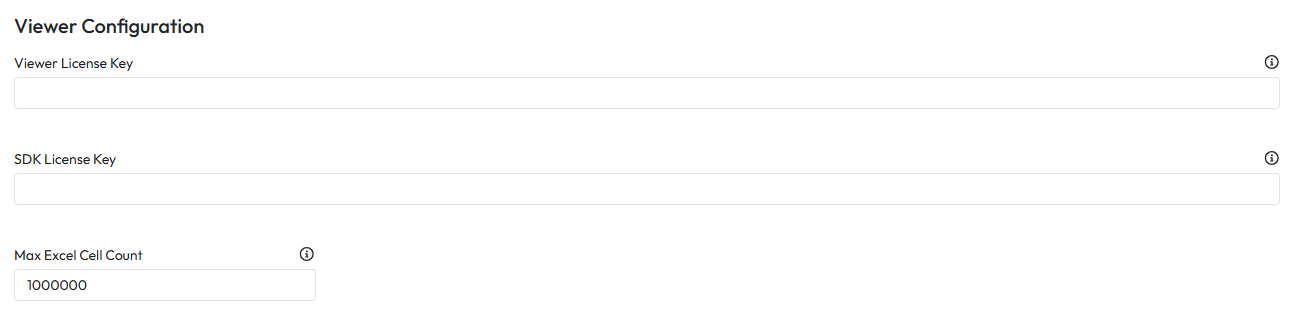
Viewer Configuration
Enter the License key for the third party viewer software into the Viewer License Key.
If you a SAR user and wish to use Batch Markup, enter the Viewer SDK License Key
Enter the max number of cells to render on spreadsheet during preview
Preview Cache
Enable Preview Cache - Check this to enable this feature.
Cache Size Limit - Set the maximum size of a file that can be cached with the limit slider.
Expiration Window - Set how long a preview is cached for with the slider.

Preview File Size Limits
Default File Size Limit - Set a size limit for files that can be previewed.
Enter a Default File Size Limit in bytes.

Custom File Size Limits
You can customise the file size limits per extension within custom file size limits.
Extensions - enter or use the dropdown to select an extension group.
File Size Limit - Enter the File Size Limit you want to apply to this extension.
Select Add Configuration.

Redacting Documents
Information can be redacted from items within a SAR or a collection. In order for these redacted items to be saved you must configure the document storage.
Redaction Storage Configuration: Select where redacted documents will be stored from the dropdown.
Azure Storage, File System Storage, Google Storage

Azure Storage
Endpoint Suffix: Enter the suffix for the endpoint suffix for the storage account.
Account Name: Enter the Account Name linked to the storage account.
Access Key Type: Select either Account or SAS from the dropdown.
Select Credential: Choose the credential to be used for this storage.
Azure container ID: Enter the root container ID for this storage.
File System Storage
Store Root: Enter the root folder of this File System Storage.
Reserved Disk Space: Enter the amount of reserved disk space for this storage in bytes. This will reserve space within the storage system for redacted data.
Error on full storage: Enable this to be notified if this space becomes full.
Google Storage
Project ID: Enter the Project ID for the Google Cloud Platform.
Bucket Location: Select the Google Cloud Platform Bucket Location from the dropdown.
Bucket Prefix: Enter the prefix for all the buckets in the Google Cloud Platform.
Batch Markup
You can enable batch markup with this checkbox.
You must have a valid Viewer SDK License Key for Batch Redaction to be fully enabled.
Watermarking
Configure and control the watermarks users are allowed to add to items within Workplace AI. Watermarking can be toggled on and off using the toggle within Control Hub.
Select the New Watermark button to create a new watermark.
This will open a New Watermark Wizard.
Details
Name - Enter a name for the watermark.
Description - Add a description of the watermark to help others no what it is for.
Select continue to Settings.
Settings
You can customise the watermark and choose what it says and how it appears on items. Each setting can vary depending on the placement.
Placement - Shows where on an item the watermark will show.
Text - Enter what the watermark should say.
The watermark copy must be added to every placement you want this to appear. If a line is left blank the watermark will not appear there.
Colour - Choose the colour of the watermark by entering a HEX value.
Opacity - Select how opaque the watermark should be from the drop down.
Font - Choose the font and size of the watermark.
Select Create New Watermark.
Spreadsheet Preview
Determine what files are viewed as a table depending on the extension.
Table View Extensions - Select all of the extensions that should be viewed as a table.
By default .tsv and .csv are enabled.
