User Guide Release
Admin GuidesVersionsAiimi
  • Introducing Aiimi Insight Engine
    • Jalapeno Release
    • Versions
  • Search
    • Searching for Information
      • Advanced Searches
      • Search Focus
      • Folder Browsing
    • Saved Searches
      • Saving a Search Query
      • Accessing Saved Searches
      • Bulk Search
        • Use Cases
        • Create a Bulk Search
          • Search Details
          • Map Fields
          • Review Search
          • Notifications
        • Bulk Search Template
    • Search Results
      • Lenses and Result Views
        • Map Lens
        • Timeline Lens
        • Relationship Map
        • Related Result Connections
      • Filtering Results
      • Sorting Results
      • Quick Actions
      • Why These Results
      • Related Results
      • Watermarking
    • Item Classification
      • Editing a Classification
    • AI Helper
    • Item Preview
  • Collections
    • What is a Collection?
      • Collection Types
    • Manage Collections
    • Using a Collection
      • Add Items
      • Sharing a Collection
      • Collection Comments
      • Redacting Information
      • Export a Collection
  • Subject Access Request
    • Subject Access Requests
    • Create or Receive Data Requests
      • Create a Request From The Portal
      • Assigning a Request
      • Create a Manual Request
      • Create and Manage Data Subject Types
    • Finding a Request
    • Items for a Request
      • Redacting Information
      • Item Status and Reviews
    • Completing a Request
    • Assigning Users to a SAR
    • Message the Requestor
    • Internal Messaging
  • Profile
    • Profile Pictures
    • Settings
      • Notification Settings
      • Accessibility Settings
  • Help and Support
    • Leaving Feedback
    • Accessibility Statement for Aiimi Insight Engine
  • Advanced Applications
    • Metrics
    • Using The Manage Chart
    • OData API
      • Set Access
      • Aggregating Results
      • Query Parameters
Powered by GitBook
On this page
  1. Profile

Profile Pictures

PreviousInternal MessagingNextSettings

Profile pictures can improve communication between people and teams. You can associate a task or comment with a recognisable face. You have control of the picture that is used, you can add, edit and remove it at any time.

Add a Profile Picture

  1. Select Account at the top of the screen.

  2. Navigate to My Profile from the list.

  3. Select Add Profile picture.

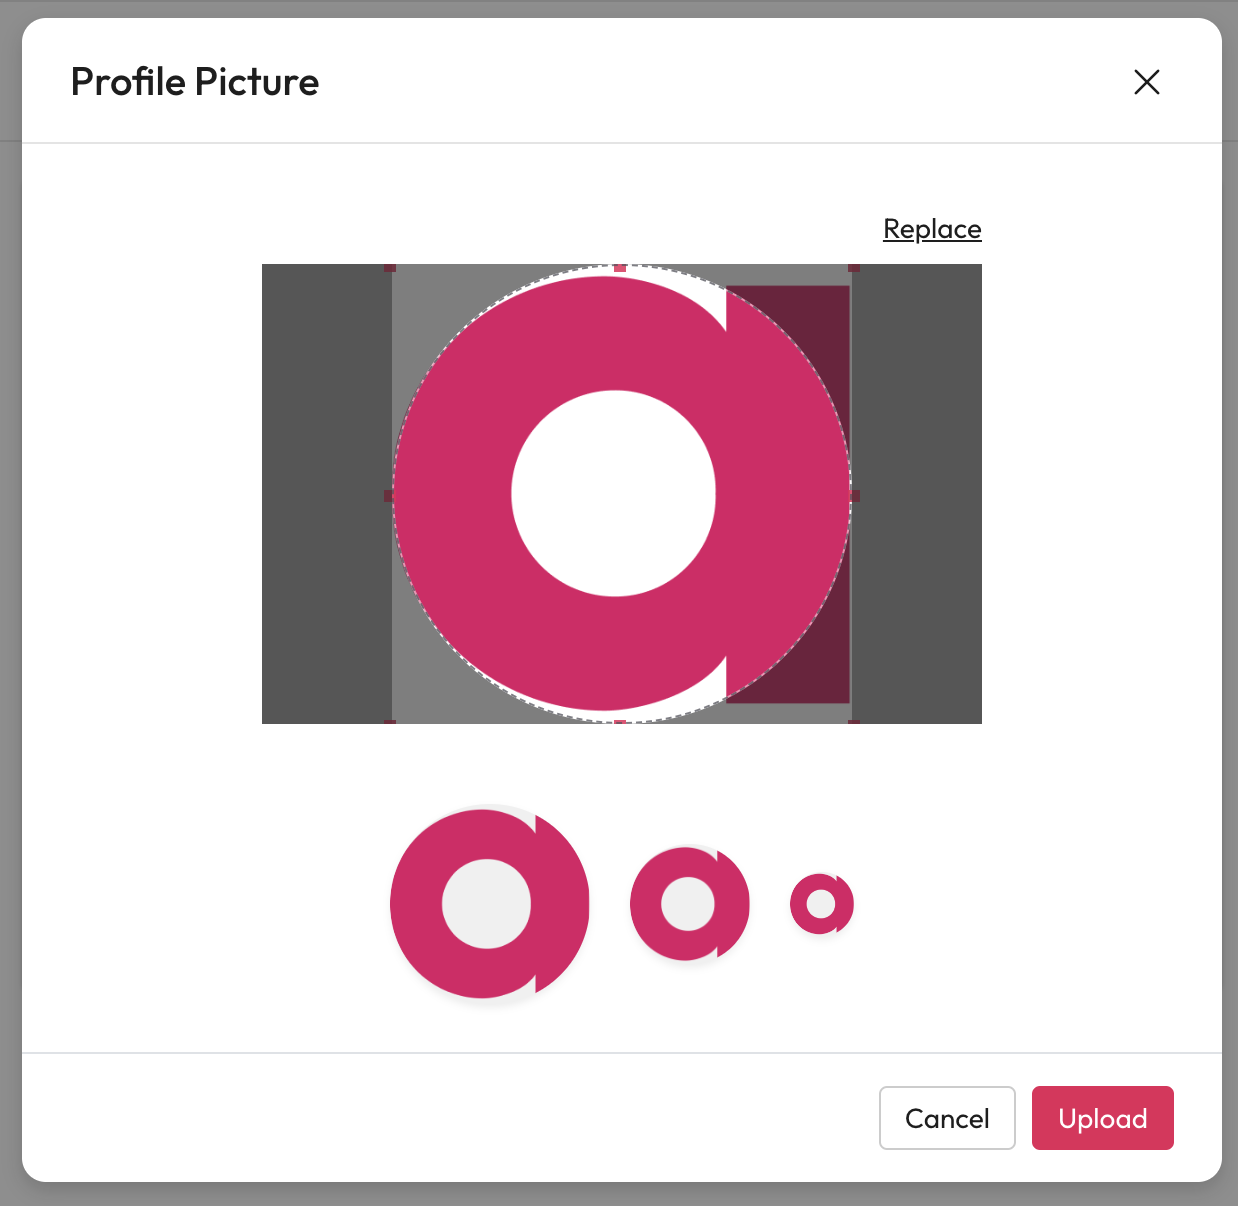
    • This will open a profile picture modal to upload an image.

  4. Drag and Drop an image into the modal or select Upload a picture to open the file explorer.

    • You can upload one image no larger than 2MB.

  5. You can move the area displayed by dragging the circle within the picture.

  6. If you want to change the image select Replace and go back to step 3.

  7. Select Upload.

You can replace or delete an image for your profile within My Profile using Replace or Delete below your image.