
Collection Types
Collection Types are customised collections to suit a business process. Certain users are able to create collection types and assign them to others to use.
You will be able to:
Track the progress of a collection using statuses that match your process steps. See tasks that need to be completed as part of each status to guide you through the process.
Apply tags to an item to add context and reminders for an item.
Share the collection with specified users or teams to improve security and reduce risk.
Managing Collection Types
Go to your Collections.
Select Actions and Manage Collection Types.
From here you can see all of your available collection types, edit them and create new ones.
Creating Collection Types
Go to Collections.
Select Actions and Manage Collection Types.
Select New Collection Type.
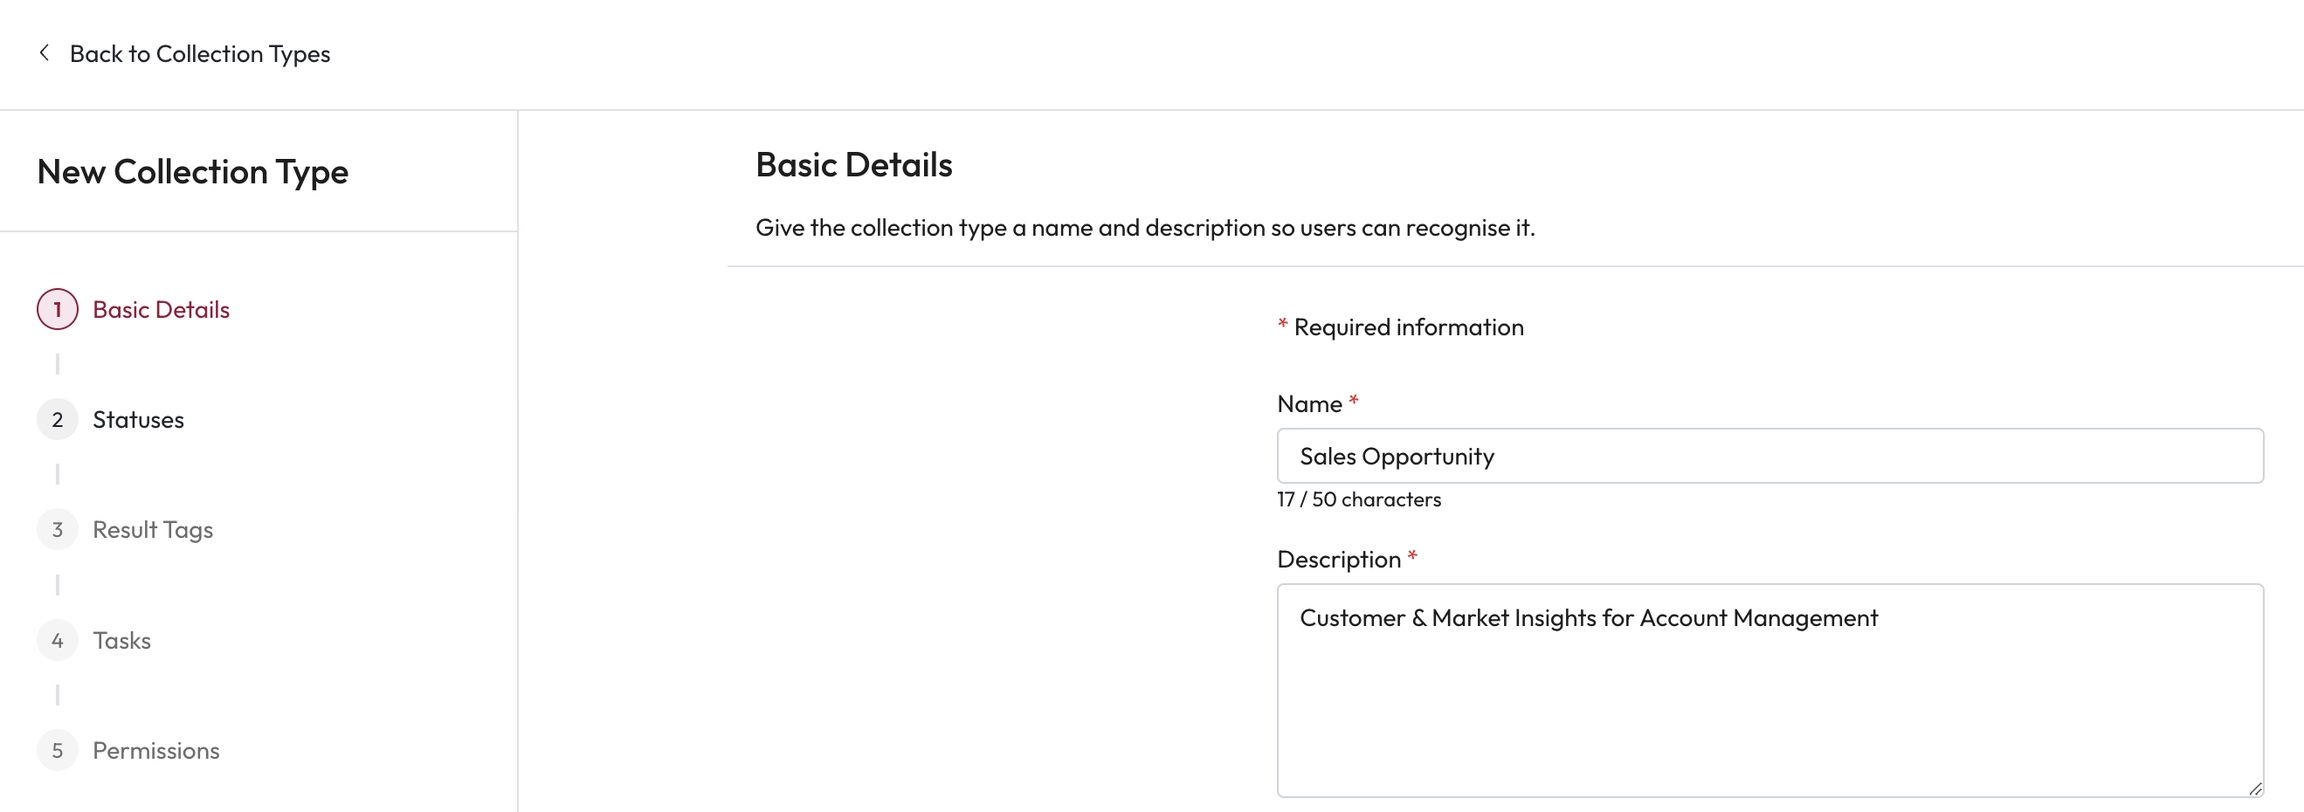
Basic Details
Name: Enter a name for the collection type.
This must be 50 characters or less.
Description: Enter a description for the collection type.
This could be what the type is for, how or when to use it.
Select Continue to Statuses.
Statuses
You can create statuses that match the journey of your business process. You can create a core journey and exceptions to these. New, In progress and Done statuses are applied to all types to get you started. These can be edited or deleted by selecting the Status Menu.
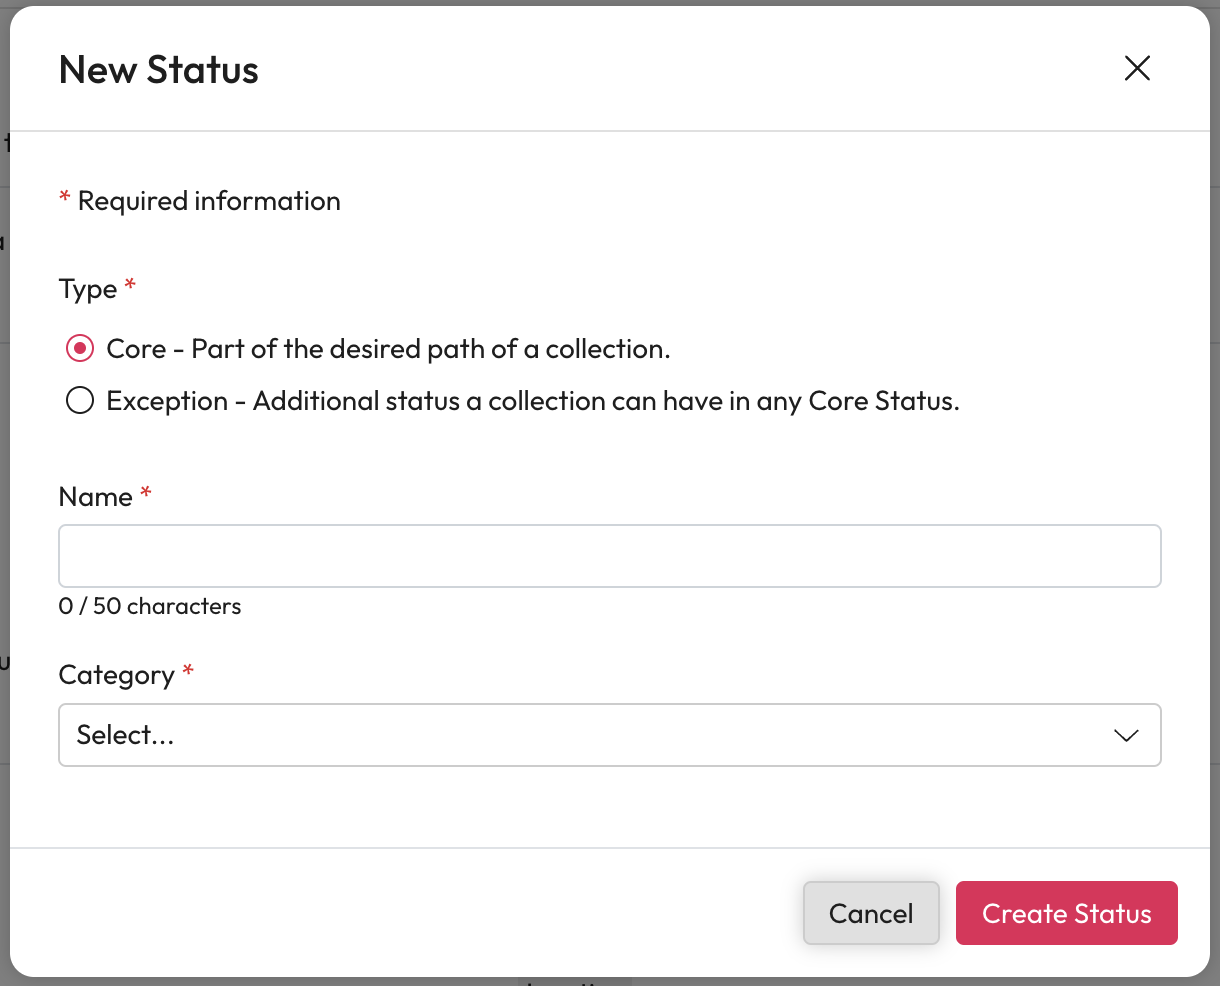
Creating a Status
Select New Status
This will open the New Status modal.
Type - Select the type of status.
Core - This sits in the main desired path of a process.
Exception - This is a sub status. For example within the In Progress core status, Researching may be an exception status.
Name - Enter a name for this status.
This must be 50 or less characters.
Category - Choose a category for this status from the dropdown.
Active, Inactive and Closed.
Select Create Status.
Select Continue to Result Tags.
Arranging your statuses
You can arrange the statuses using the order arrows to match your process. The statuses are ordered first to last.
A status can be edited or deleted by selecting the Tag Menu.
Result Tags
Result tags can be added to a result. These could help others understand why a result is in a collection, what actions have or, should be performed on a result, etc.
A result tag can be edited or deleted by selecting the Tag Menu.
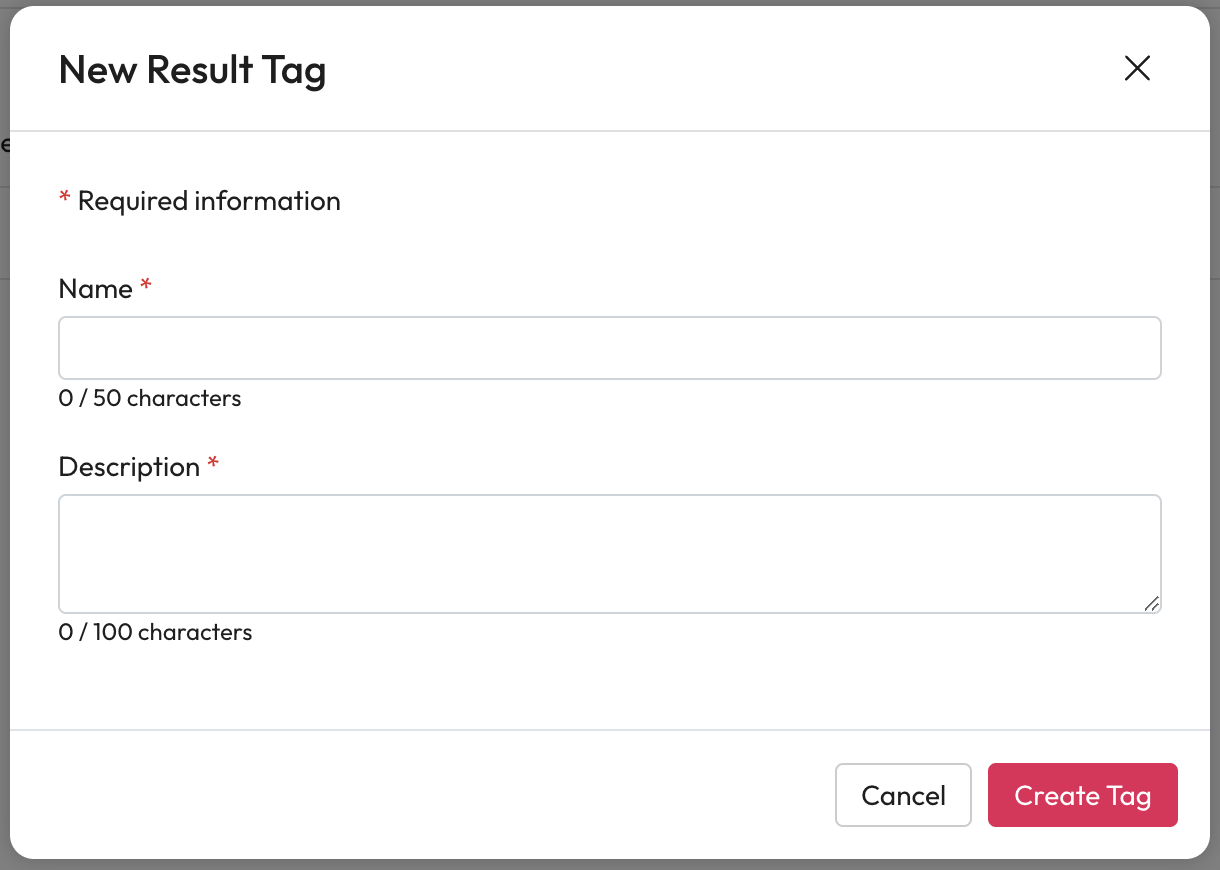
Select New Result Tag.
This will open the Result Tag modal.
Name - Enter a Name for the result tag.
This must be 50 characters or less.
Description - Add a Description to help users know when to use this tag.
This must be 100 or less characters.
Select Create Tag
This will close the modal.
Once you have all your result tags select Continue to Tasks.
Tasks
Create tasks that should be done as part of this collection type. These are helpful reminders on things that need to be completed and steps that must be completed. Please note: The tasks do not need to be completed within Workplace AI to progress.
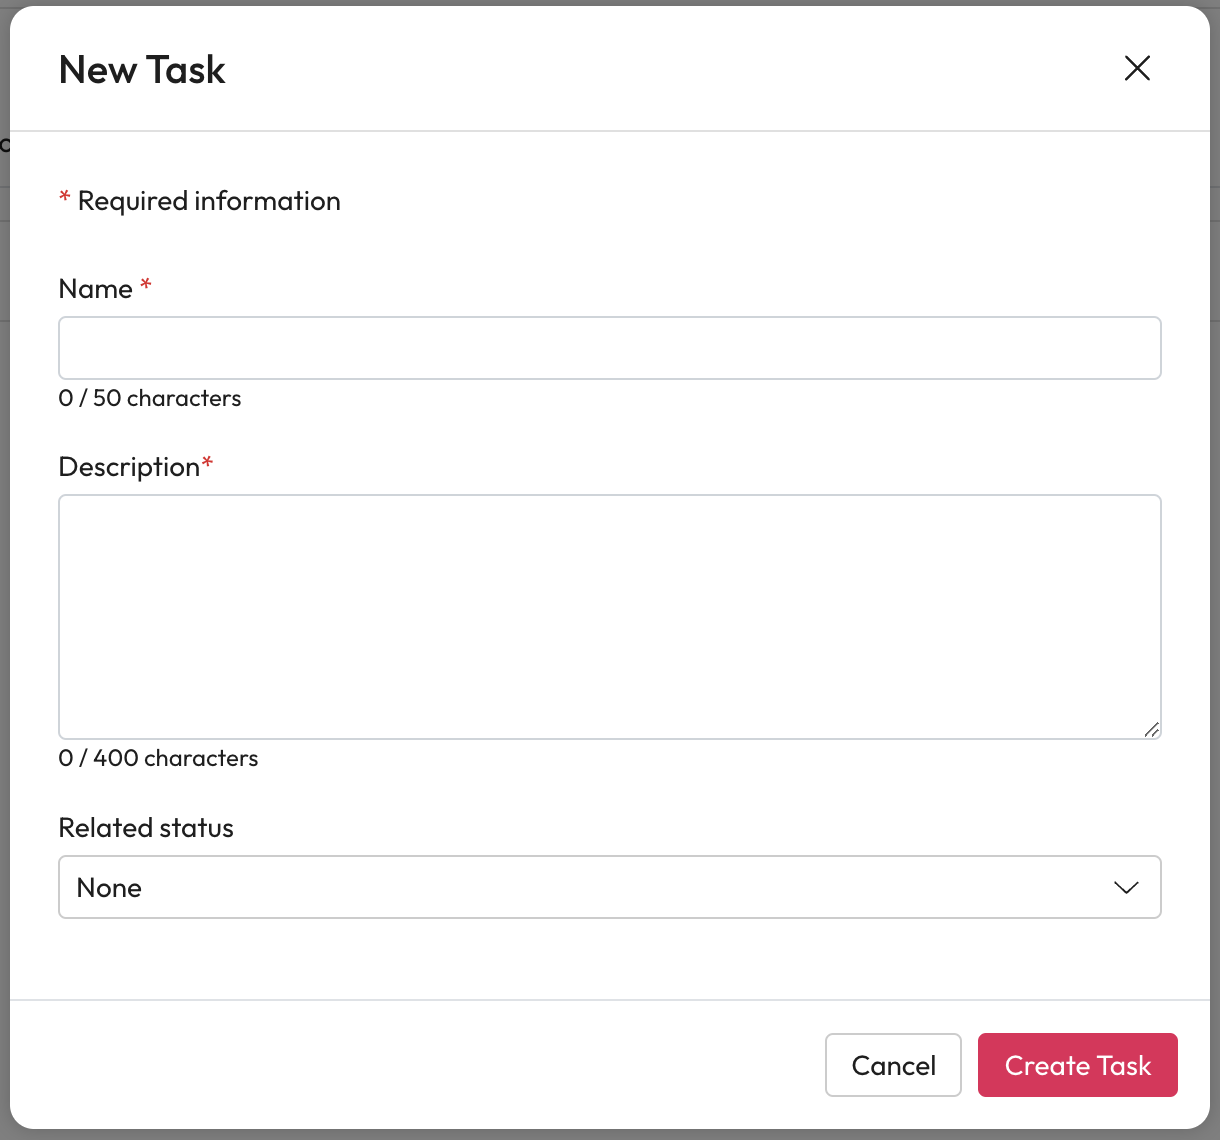
Select New Task.
Name - Enter a Name for the task.
This must be 50 or less characters.
Description - Explain to users what needs to be done for this task.
This must be 400 or less characters.
Related Status - Choose what status a task sits within to guide users.
If no status is selected the task will be a general note or task that can be completed at any time.
Select Create Task.
Select Continue to Permissions.
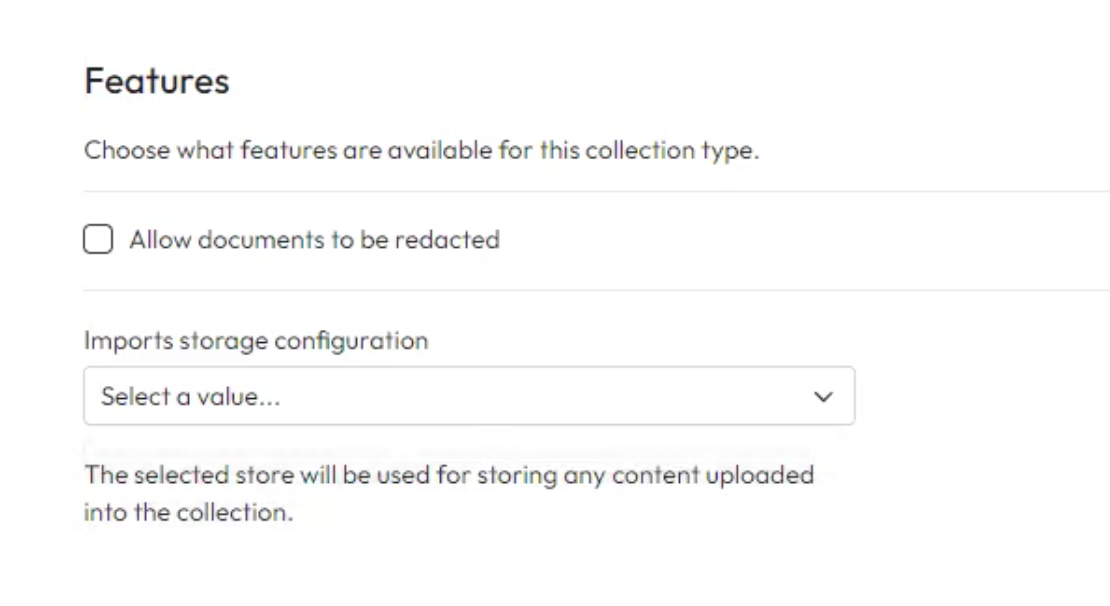
Features
You can add additional features to your collection types. This is only redaction of items within a collection at the moment.
Allow documents to be redacted - Check this to allow items to be redacted within collections of this type.
You can control the users that are able to redact information within a collections sharing settings.
Import storage configuration - Choose a source from the dropdown list to store uploaded items.
If this is left blank, users will not be able to upload items to this collection.
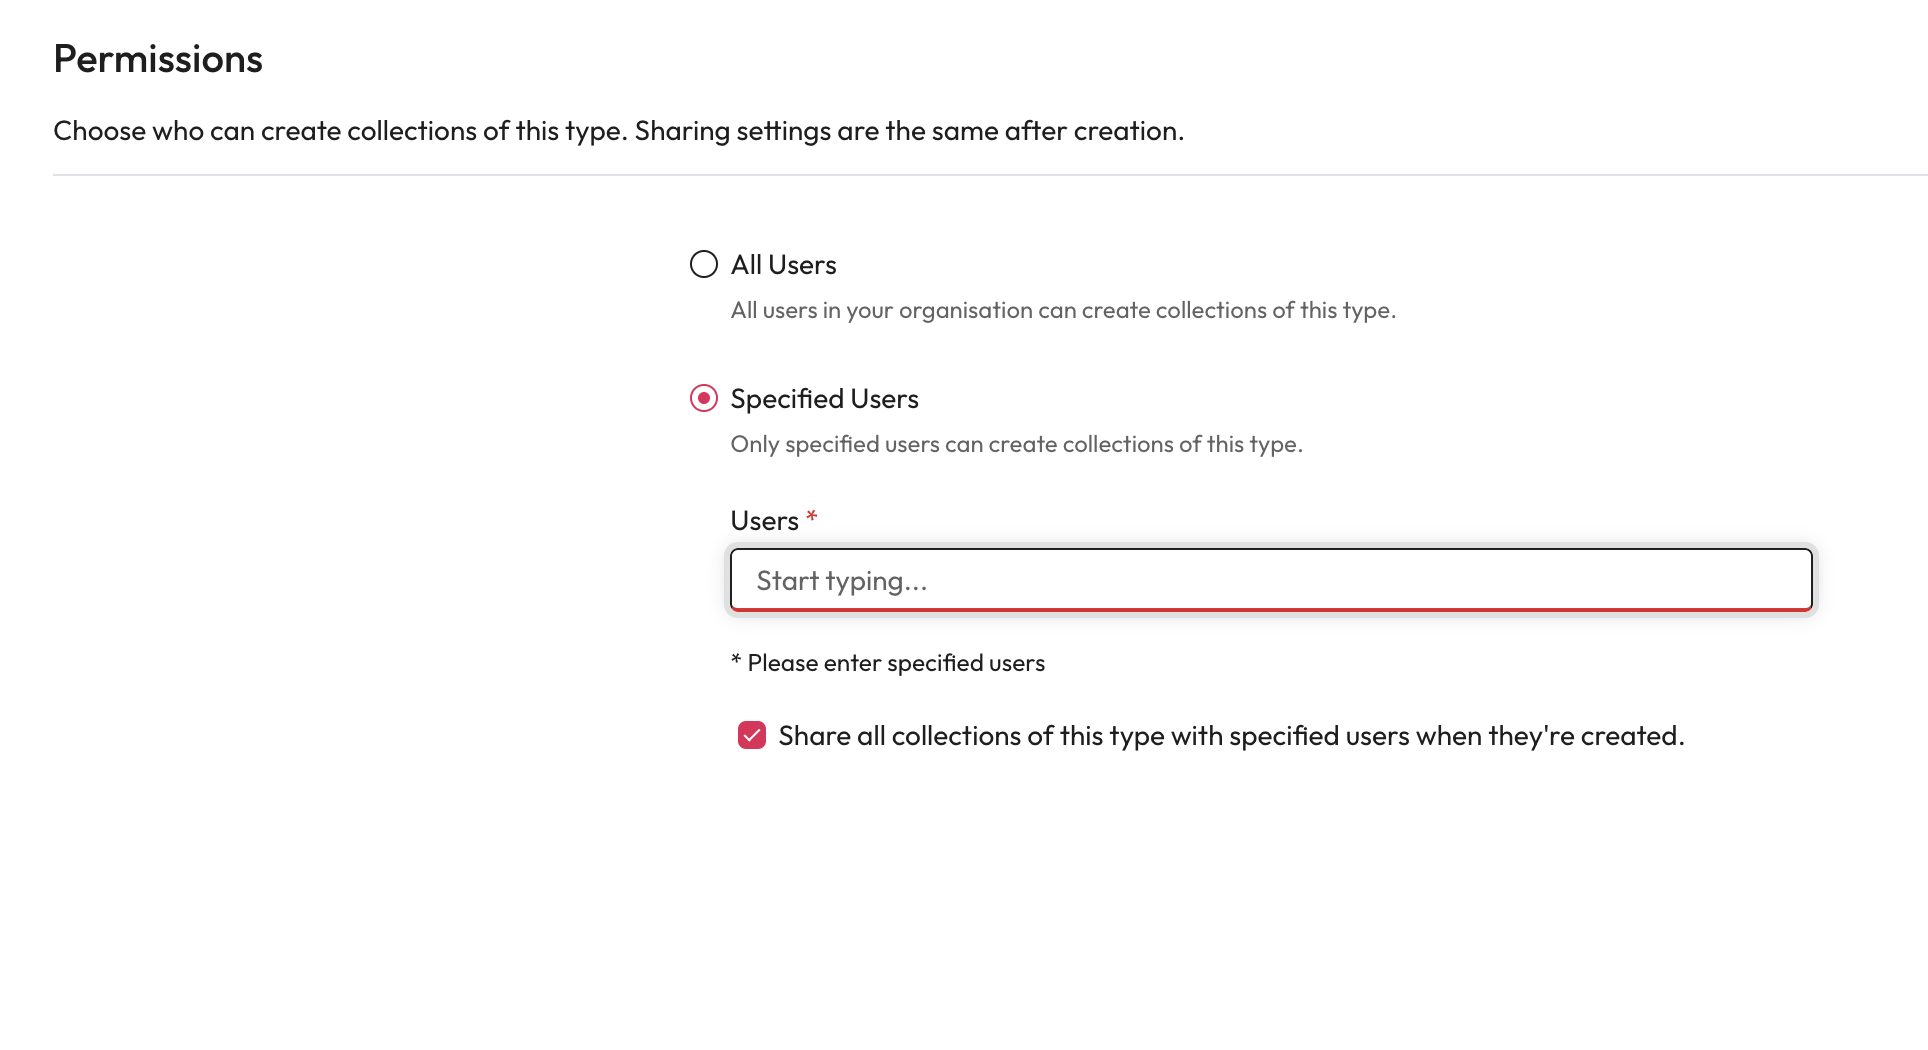
Permissions
You can choose who is able to use and see collections of this type. This can be extremely helpful when creating a Right To Be Forgotten, HR process collections or any other type with sensitive information.
Allow All Users
Select All Users if this collection should be available to all.
Select Create Collection Type.
Limit User Access
Select Specified Users to limit and choose the users that can use this collection type.
Enter the users who can use this collection type within Users.
Select the add button or the enter key on your keyboard.
Check Share all collections of this type...
This will mean all new collections of this type will also be shared with the specified users.
Leave unchecked to allow collection creators to decide who this is shared with.
Publish
Once created it still wont be able to be used until it is published.
Select the collection types action menu
Select Publish.