
| Setting | Value |
|---|---|
| Name | Aiimi Workplace AI |
| Description | Aiimi Workplace AI |
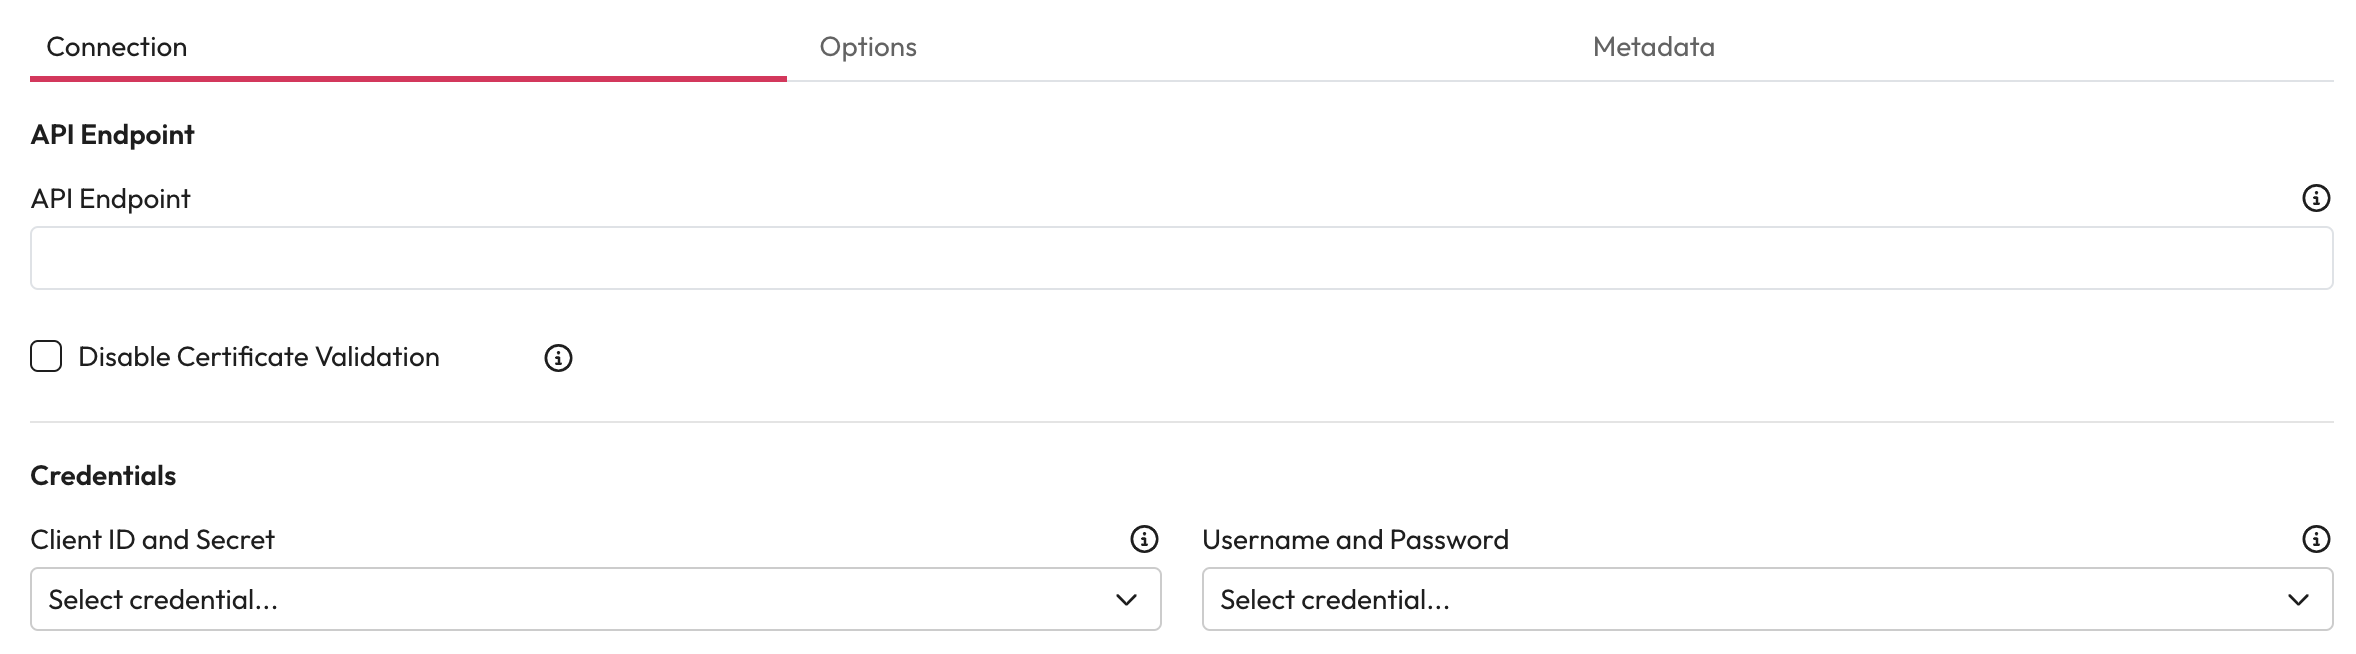
| Client ID | Randomly generated GUID - You can use the client secret generator to create this. But make sure you regenerate the Client Secret so they are different. |
| Client Secret | Click generate to populate this value. |
| Publisher | Aiimi Ltd |
| Website | https://aiimi.com |
| support@aiimi.com | |
| Application Type | Native |
| Redirect URL | Not used, so set to a safe value. e.g. the Url of the iManage environment. |
| Client Secret Expires | We recommend setting this to match your security policy. |
| Allow Refresh Token | No |
| Access Token Expiry | We recommend setting this to match your security policy, but at least 30 minutes. |
| Allow Access To | Select the user created previously. |