Needed for initial set up
There are a few things that need to be configured for thumbnails within Aiimi Insight Engine. This includes where they are stored. Thumbnails are shown next to as many files shown in a results list as possible. Some documents can't have a thumbnail created so a default is applied. If a file does not have a thumbnail Aiimi Insight Engine will create one based of the file and the data within it.
Any changes made to the settings regarding thumbnails will not work retroactively. Enrichment will need to be re-run for any updates to existing data.
You can choose to enable or disable thumbnails with the Enable Thumbnails checkbox.
Choose the Thumbnail Size that is shown on the screen. You can choose between Tiny, Small, Medium or Large.
Use the Quality slider to determine how clear the thumbnail is.
The smaller the size the less someone will see so quality is less of a concern.
You can choose to show no thumbnail for files modified over a certain number of months ago. To set a modified date range enter the Maximum Modified Age in months.
To show all thumbnails despite modified date leave Maximum Modified Age empty.
If you enter 6, files last modified within 6 months will show a thumbnail.
Configuring the storage for the Content Retrieval enrichment step happens here. The input folder is an area that holds documents and data that needs a thumbnail. Then there are ContentAgent resources available the files in that root folder will have thumbnails created and stored in the output folder.
Select the Storage for the queue of documents that should have thumbnails generated from the Input Storage Configuration dropdown.
Choose between File System Storage, Azure Storage or Google Storage.
Select the storage for the thumbnails from the Output Storage Configuration dropdown.
Choose between File System Storage, Azure Storage or Google Storage.
You can have a different storage configuration for the input and output. Depending on your chosen storage you will need to populate different information.
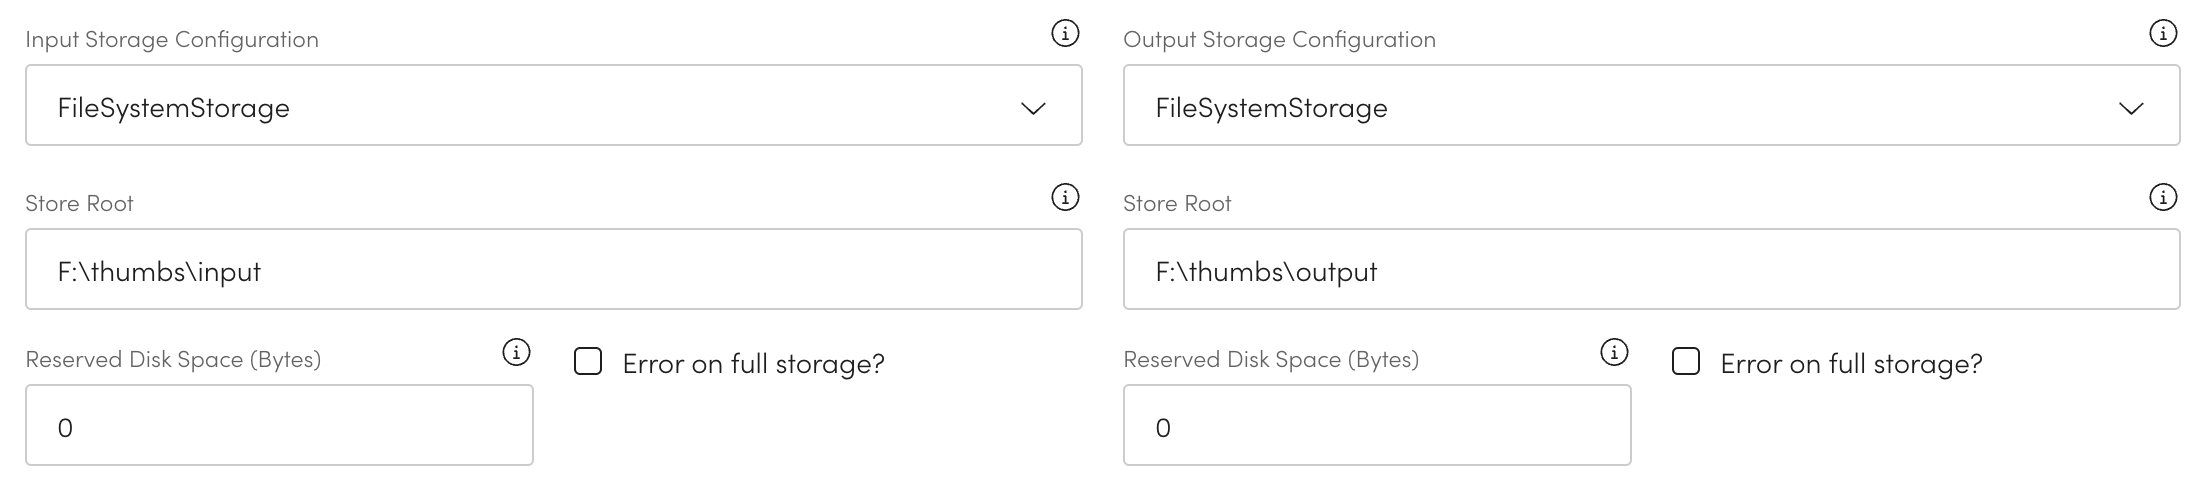
Enter the root path of the folder within Store Root.
Choose the amount of Reserved Disk Space for the folder.
Enter the reserve amount in bytes.
You may want to reserve disk space for the input and output folders. Input only holds temporary data and is removed once the thumbnail is made.
Check Error on full storage if you want to surface an error.
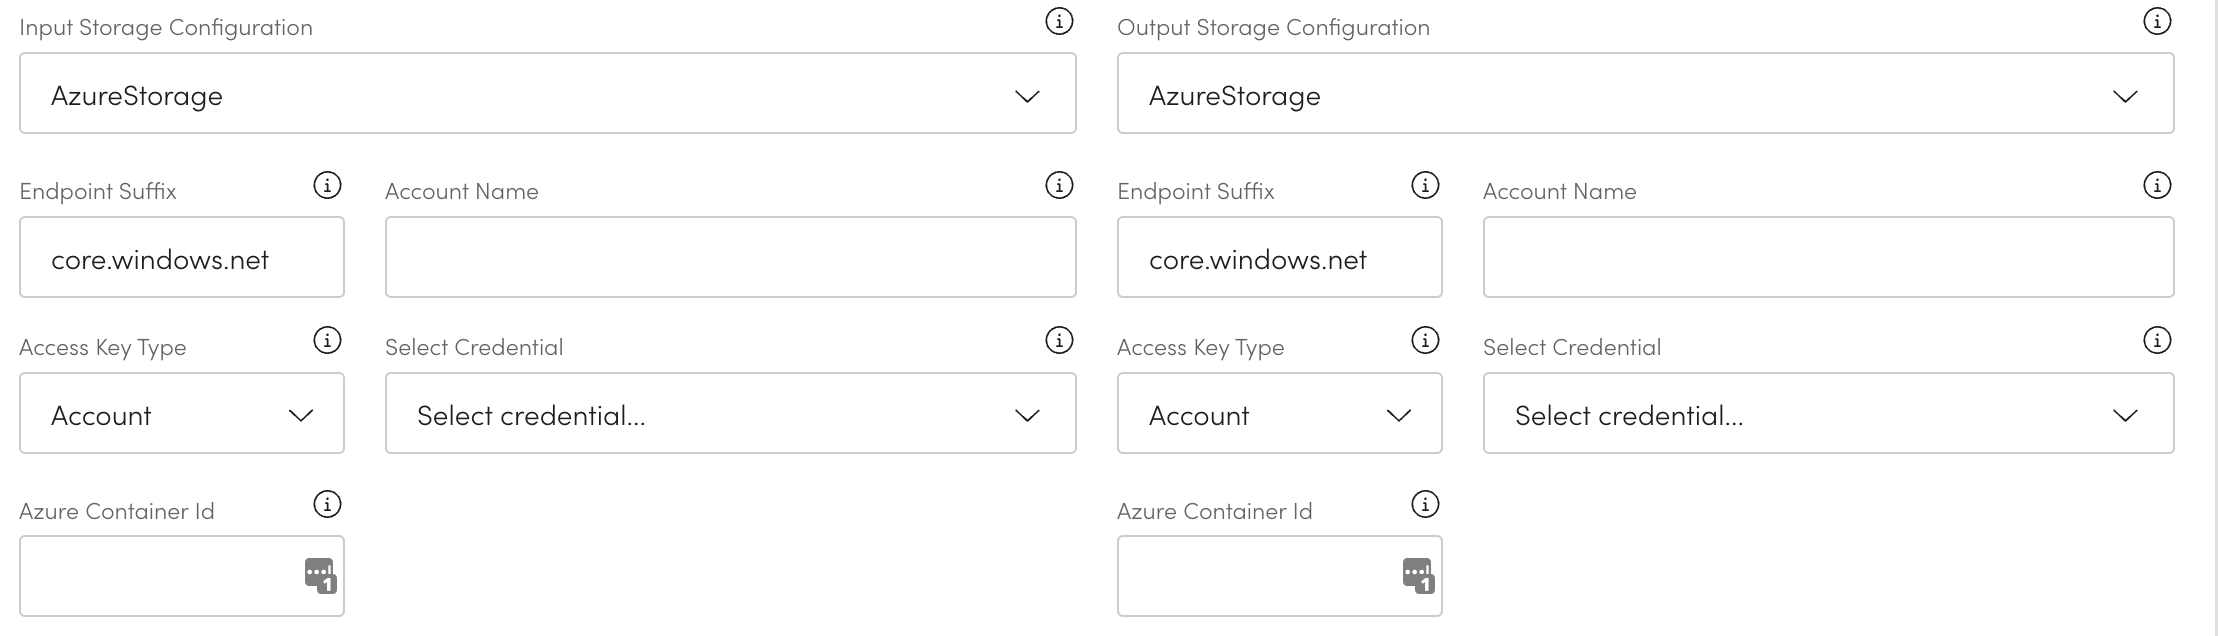
Enter the Endpoint Suffix for the storage account.
Enter the name of the storage account to crawl within Account Name.
Select the Account Key Type from the dropdown.
Choose the related credential from the Select Credential dropdown list.
Enter the root Azure Container ID for the Azure container.
Enter the Project ID from the Google Cloud Platform.
Enter the Bucket Location from the Google Cloud Platform.
Enter the Bucket Prefix to be added to the beginning of all buckets.