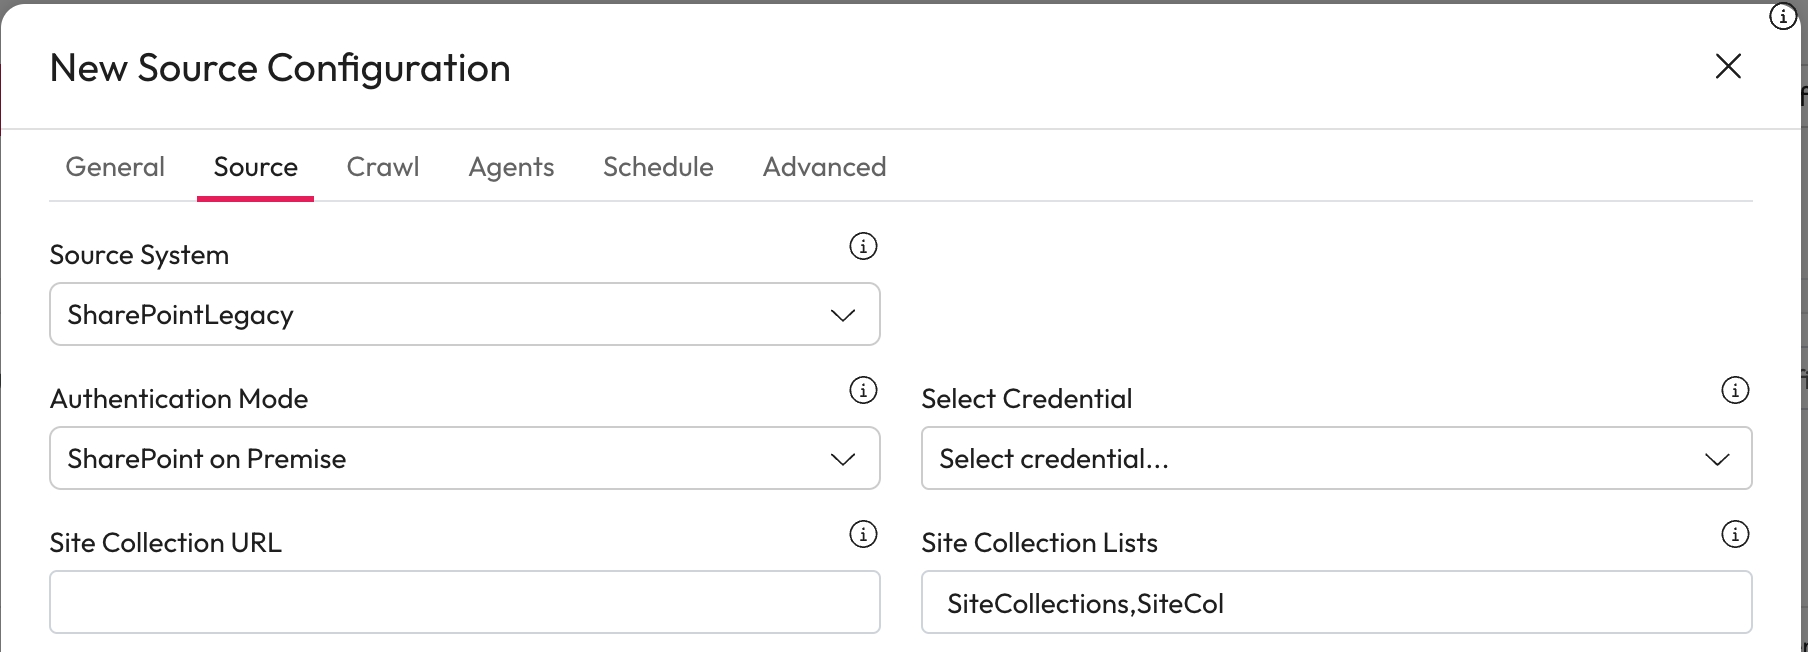
Connect your SharePoint Legacy source to Aiimi Insight Engine to make the most of your data. Once you have selected a Source System type more detail will expand to customise this.
Select the authentication method for this source from the authentication mode dropdown.
SharePoint on Premise
Anonymous Authentication
Form Authentication
Select the username and password to access the source from the Credentials dropdown.
Enter the root URL of the site collection that needs crawling in Site Collection URL.
Formatted https://[site]-admin.sharepoint.com
If your site collections do not match the Site Collection Lists, make sure you update these.
Do not include O365
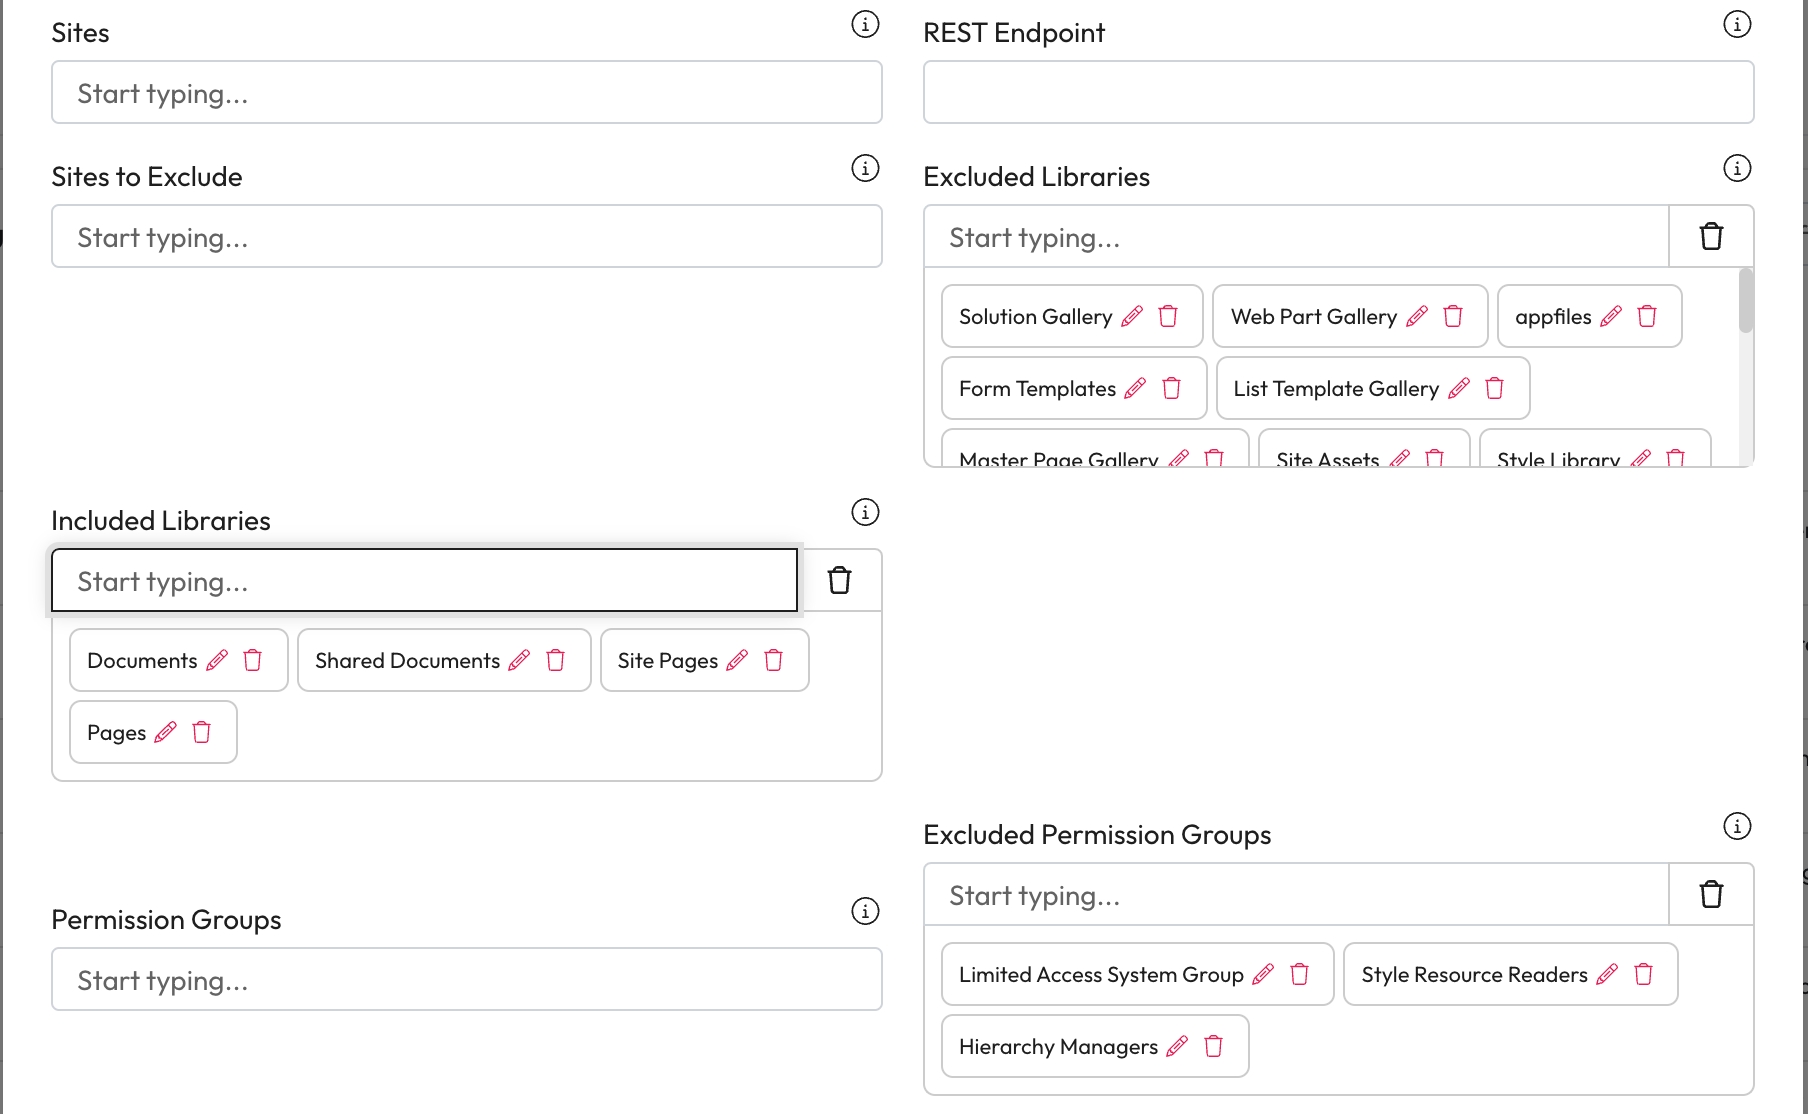
Choose the sites within the root collection to crawl.
Enter in specific Sites or leave blank to crawl all sites.
Enter the REST Endpoint needed to connect to the Client-Side Object Model (CSOM) bridge.
Add any sites that need excluding from the Crawl to Sites to Exclude.
Libraries can be excluded from the Crawl by adding them to the Excluded Libraries list.
The default excluded libraries can be removed or edited as needed.
To run crawl only certain libraries you can can ad them to Included Libraries.
This list overrides any exclusions if there is an overlap.
If nothing is added to the default list they all libraries minus the excluded will be crawled.
Add any other Permission Groups on top of those from the security sync.
This allows SharePoint groups in content permissions.
Add groups to Exclude Permission Groups to ignore them from every file.
The default Excluded Permission Groups can be removed or edited as needed.
To reduce timeouts you can change the Page Load Throttling.
By changing this you can increase the wait time between Chromium Page loads.
Enter the time in MS (2000 ms = 2 seconds).
Set a timeout value for all requests made to Sharepoint in SharePoint Client Context Timeout.
Enter a CSOM value, by default this is set to -1.
To get the owner of a file enter the Owner Content Type Mapping field.
Formatted like SharePoints internal naming conventions. Content_x0020_Owner
If Chromium has been manually deployed enter the full path including chrome.exe into Path to Chrome.
If this field is left black it will be downloaded once.
Within Path to SharePoint Online enter the path to your preferred cookie authentication utility.
This will handle authentication when processing ASPX pages.
You must explicitly enter the full path including the .exe.
If this field is left blank Default utils install locations will be used.
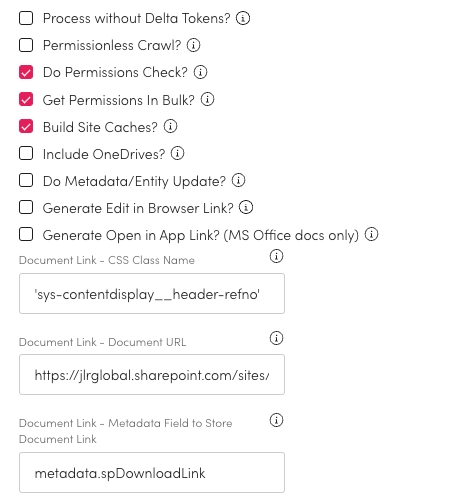
Process without Delta Tokens - Check this to NOT use the library delta tokens.
This will do a reprocess of the full library at every crawl and can be enabled to sync an index. All documents will be retrieved from the library, regardless of changes. However, only necessary changes will be made to your index.
If this is not checked, only the changes since the last change token will be retrieved from the library. Likewise only the necessary changes will be made to your index.
To use SharePoint change tokens to enable delta crawls uncheck this option.
Permission-less Crawl - Check this to NOT retrieve document permissions from SharePoint.
All documents will be set to the defined permission groups.
Do Permissions Check - Check to test all the document permissions.
Get Permissions In Bulk - Check to gather all document permissions for everything in a library at once.
The higher the document count the more memory intensive it will be.
Not retrieving the permissions in bulk will mean a permission request for every file indexed. This can get you rate limited by SharePoint if many requests are sent in quick succession.
Build Site Caches - Check to build a cache of all users with access to a site.
If unchecked validation will be processed with each document.
Include OneDrives - Check this to process OneDrives and sites.
Do Metadata/Entity Update - Check to reprocess all entity or metadata mappings at crawl.
This should only be enabled when a field of column has been deleted.
Note files updated will need to go through enrichment again after the crawl.
Generate Edit in Browser Link - Check to generate an Open In browser app as default (SP Online only).
Generate Open in App Link (MS Office docs only) - Check to generate an Open In link as SharePoint does.
For example, Open in word on the Users Machine (SP Online).
This will override the open in browser option.
Document Link - CSS Class Name - To extract a document link in aspx pages set this to the hyperlink element.
Document Link - Document URL - To extract a document link in aspx pages this must be set.
Document Link - Metadata field to store link - To extract a document link in aspx pages this must be set.
You can map the entity fields to meta tags from the web page.
Enter the full entity field in the left column. For example, entities.Websites.category.
Enter the meta tag name in the right column
You can map the metadata fields to meta tags from the web page.
Enter the full metadata field in the left column. For example, metadata.webtype.
Enter the meta tag name in the right column