
Aiimi Insight Engine Installation (Windows)
This section presents a guide for setting up a simple single node Aiimi Insight Engine instance on Windows 2016 or later.
If you are designing and installing a production environment, then you will be installing individual agents and components on specific nodes. Further guidance on this can be provided on request.
Prerequisites
Notepad++ (or your text editor of choice)
Latest Java Development Kit and Java Runtime Environment - you can use something from https://adoptopenjdk.net if you wish. If you are installing Elastic on the same machine, use the one in the Elastic install folder.
Search on Windows for 'Turn Windows Features On/Off' and enable Internet Information Services (IIS) in that dialog (used for managing websites and apis).
.NET SDK (v8.0)
.NET Core and Hosting bundle (.NET installs used to run InsightMaker agents and middleware as well as host web components) (v8.0)
Downloads
Download NSSM to run the Tika Agent as a service
Obtain your Aiimi Insight Engine distribution (Reach out to your contact at Aiimi)
Obtain the Aiimi Aiimi Insight Engine Tika distribution
Obtain your AIE licence from Aiimi
Download and Extract
The following guide will assume everything is being stored in the C: drive. You can use any drive but we recommend installing to the root of a drive.
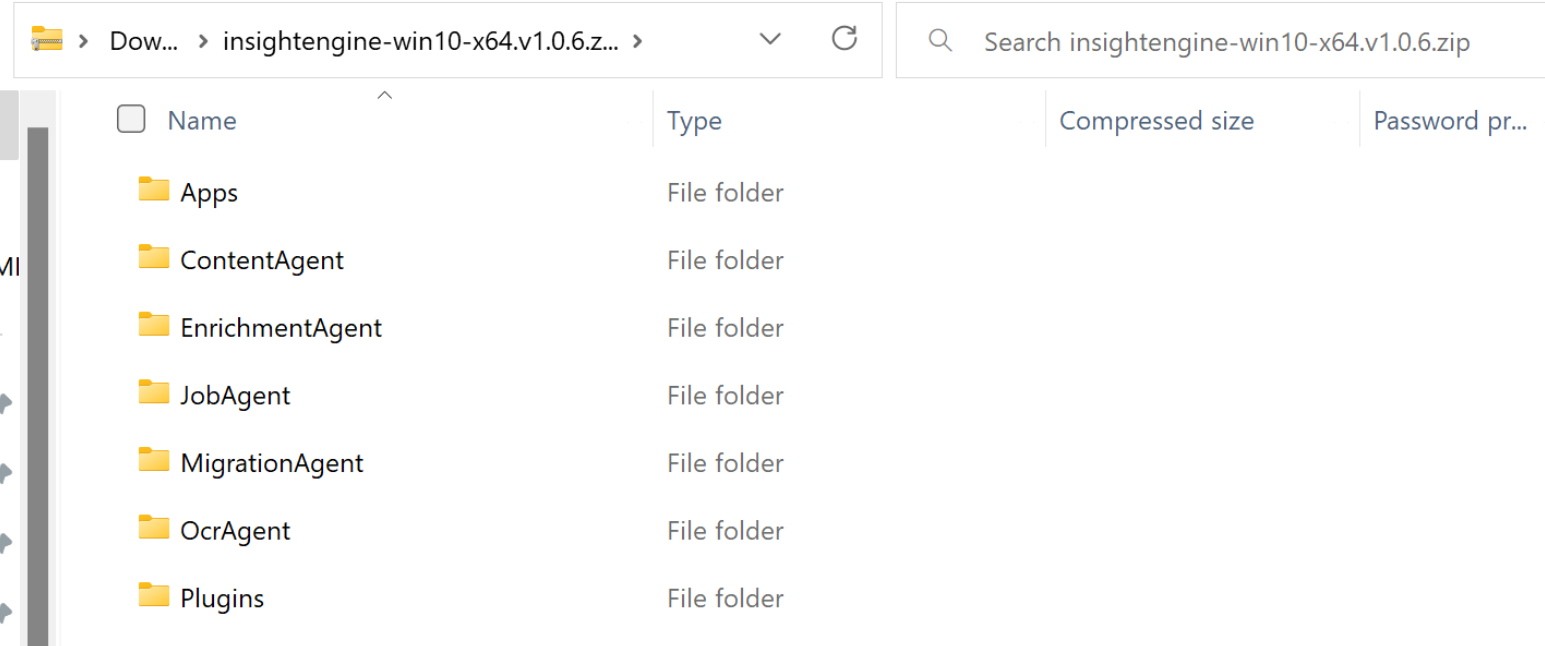
Once you have your Aiimi Insight Engine distribution extract it to C:\InsightMaker.
Run the following scripts in an an administrator PowerShell window. These commands stop Windows silently blocking files.
gci c:\InsightMaker\Plugins\*.dll | Unblock-Filegci c:\InsightMaker\Scripts\*.ps1 | Unblock-FileInstall the redistributables and .NET
Run the following Script in an admin PowerShell to update the Agent file names.
Run the following script in an admin PowerShell to update the app file names.
Aiimi Insight Engine Configurations
Some values need to be encrypted to ensure security. .\InsightMaker.SettingsUtility encryptstring <value>
Open appsettings.default.json in Notepad++.
Update the Plugins path points to the plugins folder (likely C:\InsightMaker\Plugins).
Run the following script in an admin PowerShell to update your app settings Json file.
Update where the script below says "Text input" with the relevant information.
Ensure the correct Elastic password is set.
This password must be encrypted.
The Elasticsearch credentials are set to the elastic login previously created.
The password must be encrypted.
Your license signature should be a unique value for this system.
Your license secret must be encrypted.
The jwt configuration key must be encrypted and at least 32 characters.
For assistance creating a random 32 character key see https://www.random.org.
Configure Log File Storage
Each agent has a log4net.default.config file. This file defines the path for the log directoy. This is C:\tmp\logs by default.
Run the following script to update the logs into their own subfolders.
Initialise Control Hub Parameter
In Utils\InsightMaker.IndexUtilities, run the following from an admin command prompt. These commands configure the default elastic mappings for InsightMaker indices and create some useful default entities etc.
Install Services
Run the following script in an Admin PowerShall to update the logs into their own subfolders.
IIS Configuration
IIS Setup
Initially: Ensure that '.NET Core and HostingBundle' has been installed, otherwise middleware will not be able to run in IIS.
Run the following Commands in Admin PowerShell to enable IIS.
Create a self-signed certificate using the following commands in Admin PowerShell.
This is used later and can be updated later for a production build.
Create new https (443) bindings and remove http (80) bindings using the following commands in Admin PowerShell.
IIS Application Pools Setup
Create a new application pool using the following commands in Admin PowerShell.
There are a number of application that need to be added using the following commands in Admin PowerShell.
IIS Assign Certificate to Binding
This sets up the default website on the server. It means it can be accessed using 'localhost' in any browser and the other apps using their alias. For example admin is accessed using localhost/admin.
Ensure the account that IIS runs under has read access to your Elasticsearch certificates.
Open IIS and navigate to the Default web site.

Select Bindings from Edit Site within the actions bar.
Select port 443 and Edit.
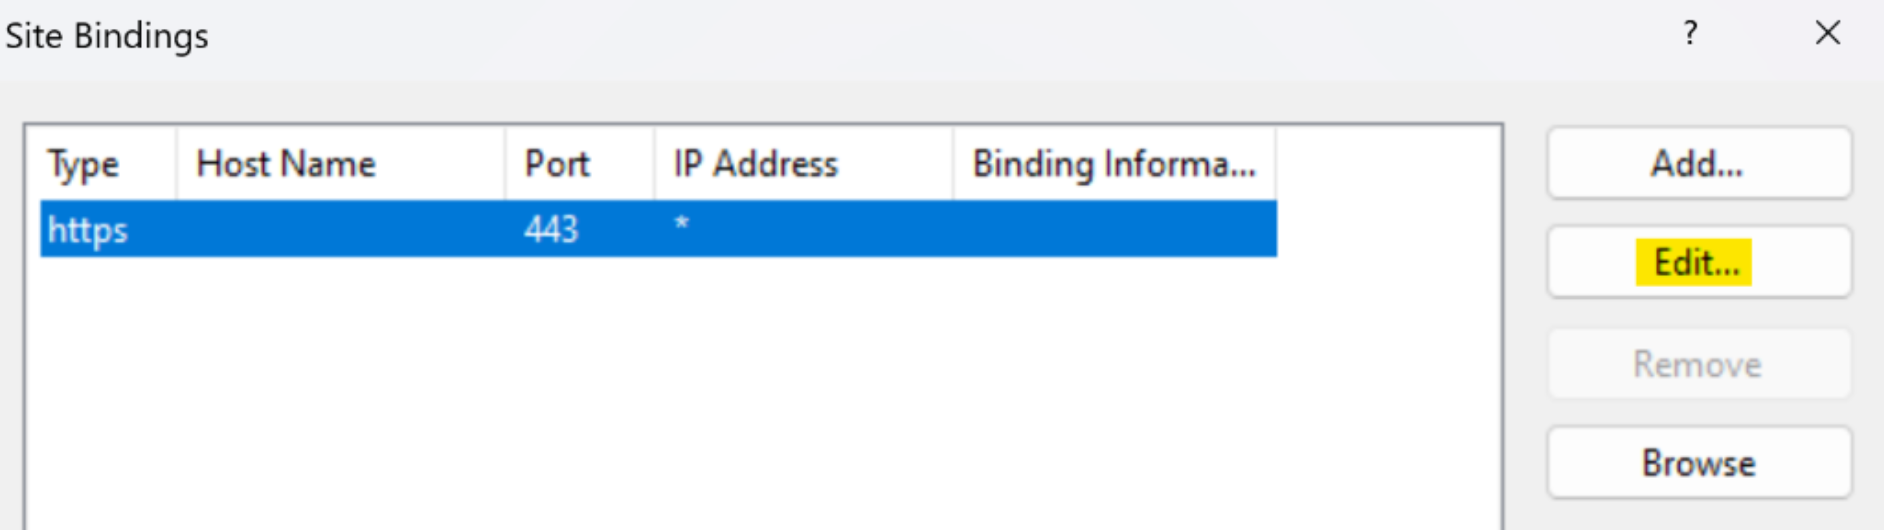
SSL certificate: Select the new certificate you created.
Access the following link to check this is set up correctly. https://localhost/#/login
If you see a blank screen it's possible that IIS didn't set itself up correctly you may need to restart IIS.
Tika
Installing Tika
Unzip the Tika distribution.
Create a directory to store IM utilities, outside of the InsightMaker directory to avoid adding any complication to upgrades (eg. C:\Utils).
Copy the Tika server using the following commands in Admin PowerShell.
Create a run object using the following commands in Admin PowerShell.
If your Elasticsearch is stored in a folder with spaces in the name, the Java path will need to be in quotation marks.
Create the Tika service using the following commands in Admin PowerShell.
This will open an NSSM service installer modal.
Path: Point this field to C:Utils\Tika\run-tika.bat.
We recommend browsing the wizard to find this location instead of copy and pasting the file path.
Startup Directory: Point this field to C:Utils\Tika
We recommend browsing the wizard to find this location instead of copy and pasting the file path.

If you want to run Tika without installing then from a command prompt navigate to the folder where you have placed Tika. Then run .\run-tika.bat serve. This will allow you to identify any issues which are less obvious then going straight for the install. (Ctrl + C to close down once tested).
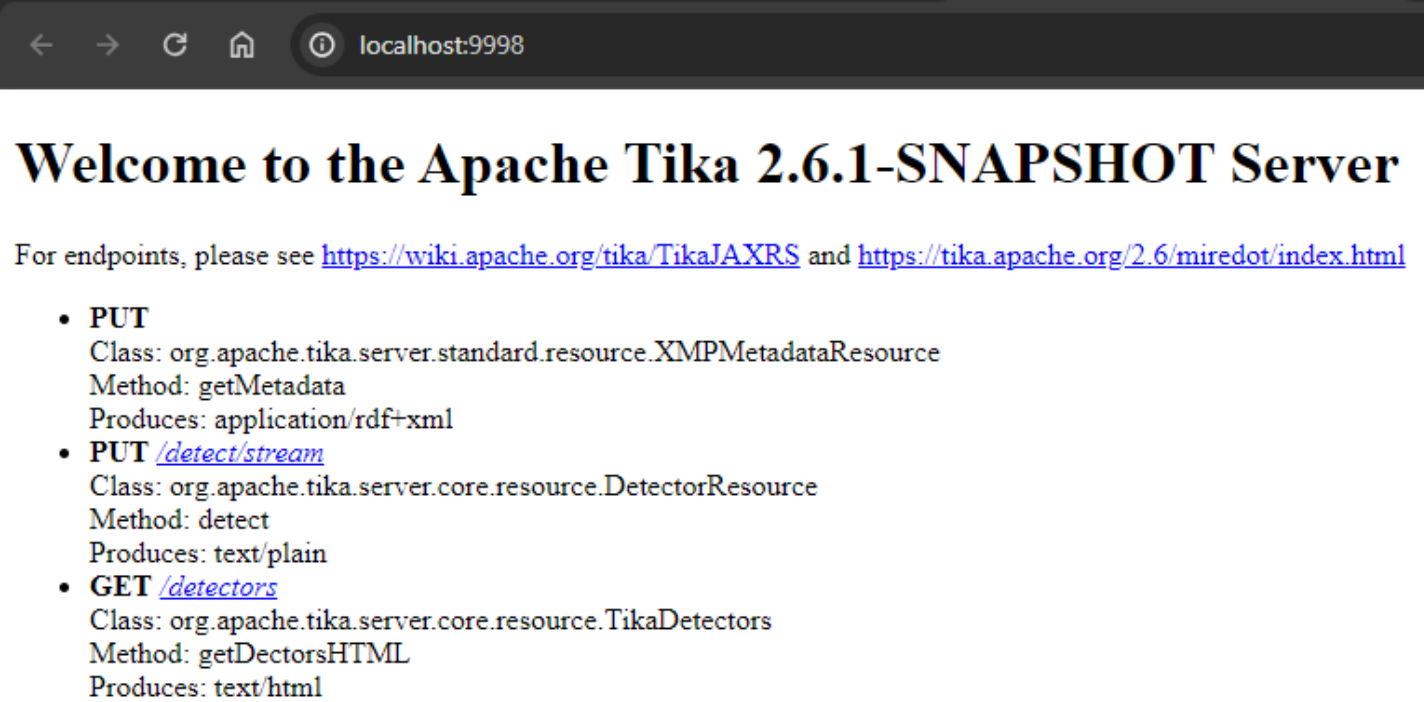
Check Tika Services
Access Tika in your web browser on http://localhost:9998.
Password Encryption
We recommend you encrypt your build. For help encrypting your build see our Installation Security area.
Restart Agent Services
Restart all the agent services using the following commands in Admin PowerShell.
Accessing Control Hub
Navigate to http://localhost/admin and login with your elastic credentials. Use the elastic username and password generated or the one you changed it to.
Assuming you can login correctly, then you should see your agents on the configuration page. They will all be empty. To get started, please see the Quick Start Guide in the Administration Guide.
Installing Odata API (optional)
Navigate to C:/Insightmaker/Apps/OData.
Open appsettings.default.json in a source code editor like NotePad++.
Check the details are correct:
The Plugins path points to the plugins folder. Likely C:\InsightMaker\Plugins
The elastic certificate path points to the elastic-stack-ca.p12 file. This was created when you installed Elasticsearch.
The correct password is set.
The Elasticsearch credentials are set to the elastic login you created.
The prefix is set to the correct value and consistent across all components.
Add your two Aiimi Insight Engine licences to the root of the json:
"licenseKey": "your key"
"licenseSig": "your sig"
Check the remoteAddress is set to ‘http://localhost/analytics/‘.
Save this file, do not change the name or location.
Within C:/Insightmaker/Apps/OData open log4net.default.config.
Change the file paths to where you’d like log files to save.
This can not be the in InsightMaker folder.
Save this file, do not change the name or location.
Remove the '.default' from each of the following file names:
'appsettings.default.json'
'log4net.default.config'
'web.default.config'
Open the web.config file.
Check the module is modules="AspNetCoreModuleV2".
Open Internet Information Services (IIS)
Open the dropdown on the left and Right click on default website.
Click add new application, call the alias “analytics”.
Set the physical path to the ‘API’ folder in InsightMaker/Apps/OData.
You should be able to view the OData metadata document using localhost/analytics/odata/$metadata.